Attic insulation should be 10-14 inches deep to be effective.
Insulation is a critical component of a home, no matter where it is. It helps keep out the cold air in winter and the hot air in summer. Without insulation — or without adequate insulation — a home is not energy-efficient, and heating and cooling bills will be unnecessarily high.
Insulation didn’t become common until the 1960s when it was mandated in building codes. Homes built before then are unlikely to have any insulation. Although homes built after this time probably have insulation, its age and its low R-values make it vastly inferior to today’s insulation.
Inspecting Attic Insulation
When you’re inspecting a home, it can be hard to determine what kind of insulation it has. The only place it’s likely to be visible is in the attic. What should you look for when evaluating attic insulation?
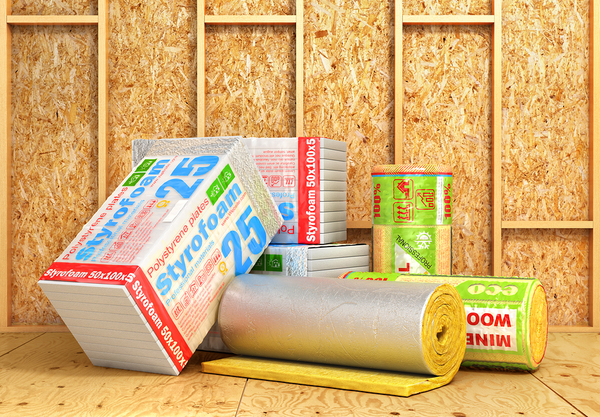
You will generally see two types of insulation in attics: batt and blown. Batt is the kind that comes in rolls, and it offers an R-value of between 2.9 and 3.8 per inch. Blown insulation looks like loose fill. The fiberglass variety has R-values of between 2.2 and 2.9 per inch, and the cellulose variety R-value is between 3.1 and 3.8. You may also see foam insulation, which has R-values between 3.6 and 8.2 per inch.
Today’s Homeowner says that generally speaking, homes in warm climates should have insulation with an R-value of 30, and cold climates should have R-60. This Energy Star guide shows a detailed map of the U.S. and the recommended R-value for insulation in varying climates.
Insulation can settle over the years, and when this happens, it can provide less protection. Thus, the recommended R-value for an attic with no insulation is different from one in which a homeowner is adding more insulation to what is already there.
How to Measure Attic Insulation
Use a measuring tape to measure the depth of the insulation in the attic. If the insulation is blown-in pieces, just insert the measuring tape into the center and record the result. If it’s batts, measure at the edge between the batt and joist. You may be able to simply read the R-value on the paper backing of the batts but measure it too, in case it has settled.
Energy Star recommends 10 to 14 inches. If the insulation does not reach the top of the joists, the homeowner should add more.
While you are inspecting the insulation in the attic, look for areas with gaps, or spots that might have settled more than others due to a leak. The ASHI reporter recommends specifically checking areas that are above dropped soffits such as in kitchens and bathrooms. Many times, the insulation is inadequately installed due to the structural variation. If this is the case, the home could leak heat here. Not only is that a waste of money, but it’s a potential mold and wood rot hazard, since warm air is moist.
If you see black areas on the insulation near dropped soffits, chimneys or eaves, this is evidence of unimpeded air flow. These areas should be sealed with fire-resistant material.

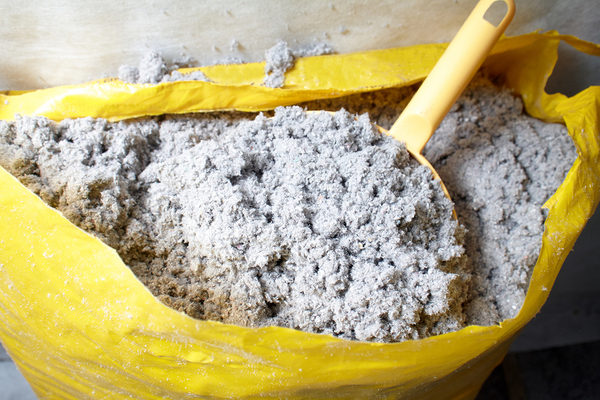
Cellulose fiber insulation is common in attics.
Remember to always wear gloves when inspecting attic insulation. Between tiny shards of fiberglass and possible asbestos fibers, you don’t want this material touching your skin.
For more information about inspecting homes or taking a home inspection course, check out our website today
The post Common Insulation Materials That You’ll Find During a Home Inspection appeared first on Home Inspection Training & Certification Online.
